
Table of Contents
Introduction
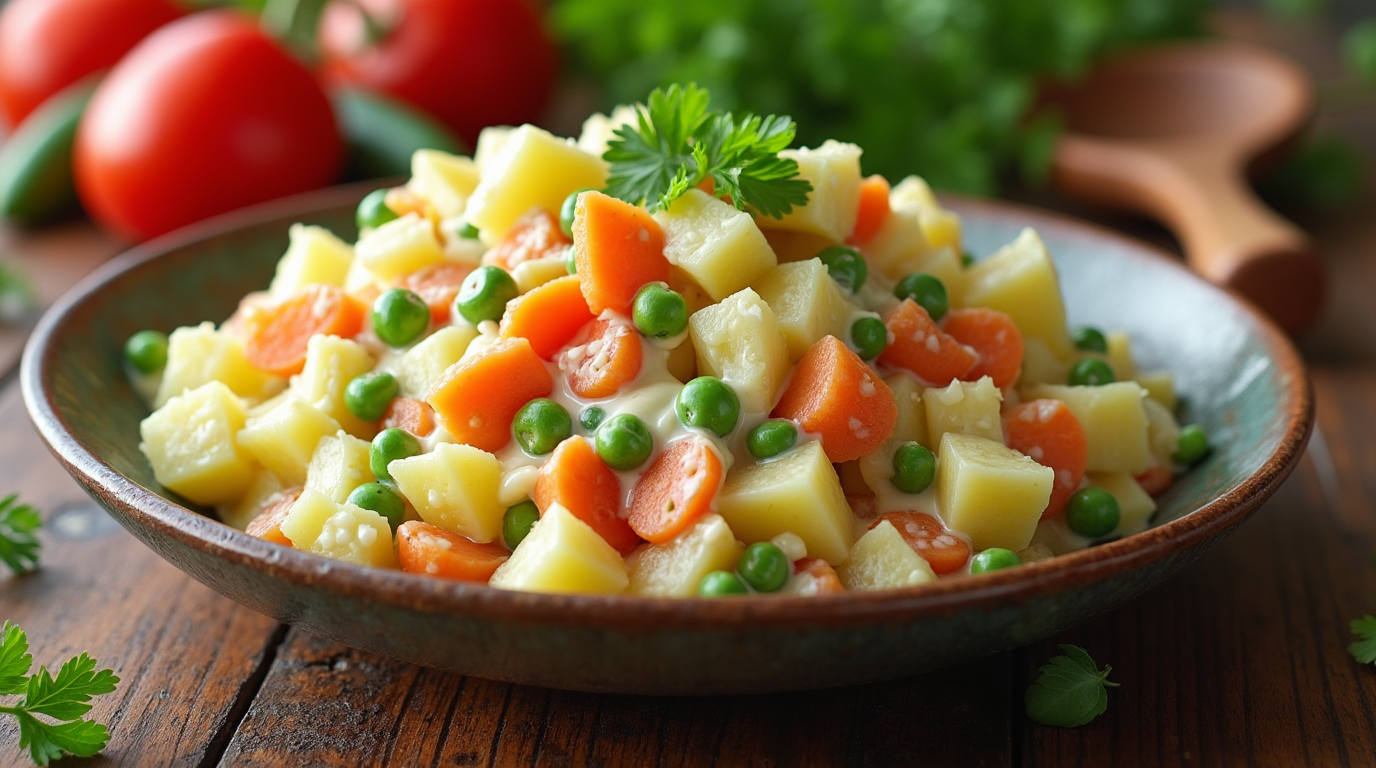
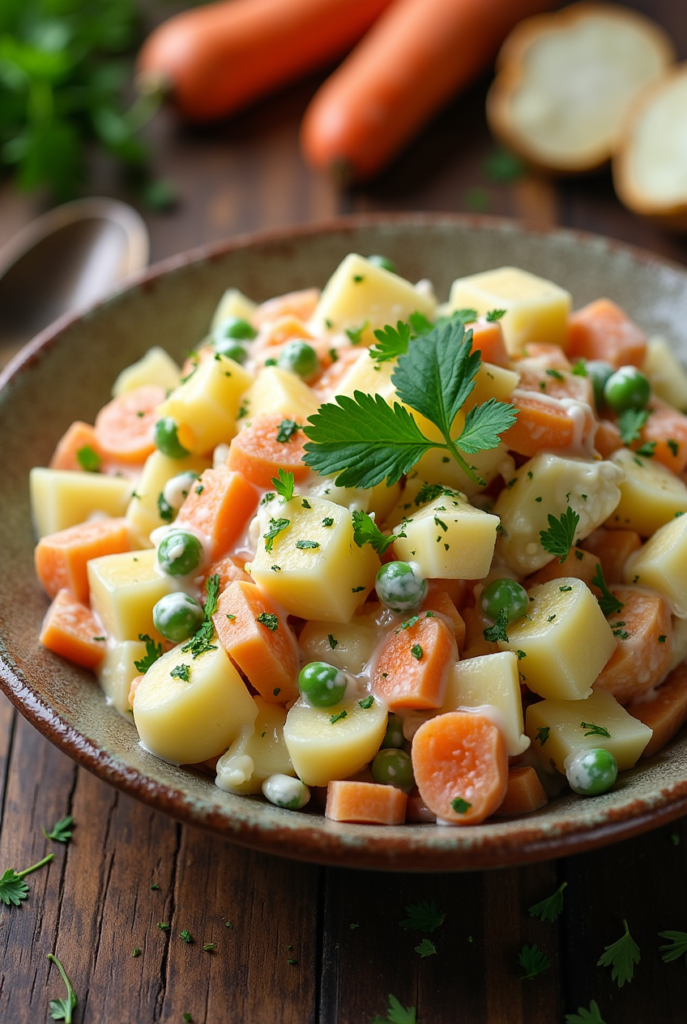
Picture this: A bowl of creamy, colorful comfort that’s as at home on a holiday table as it is at a backyard BBQ. That’s ensalada rusa for you—a deceptively simple dish that’s been winning hearts from Madrid to Mexico City. Think tender potatoes, sweet carrots, and pops of green peas, all swirled in a tangy mayo dressing with briny pickles or olives. It’s the kind of salad that makes you go back for thirds, even when you’re totally full.
Here’s a fun nugget: Despite its name, ensalada rusa (literally “Russian salad”) isn’t really Russian anymore. Rumor has it a Belgian chef in Moscow created it in the 1860s, but today, it’s a superstar in Spain and Latin America. In fact, my Spanish abuela once told me, “If you can’t make a good ensalada rusa, you’re not invited to Christmas.” Harsh? Maybe. But she’s not wrong.
Why bother making it at home? Because store-bought versions are often bland and soggy, while the homemade stuff is vibrant, fresh, and ready in 30 minutes. It’s easier than our fan-favorite patatas bravas, cheaper than takeout, and kid-approved. Ready to make the ultimate crowd-pleaser? Let’s roll up those sleeves!
What is Ensalada Rusa?
Why does a salad with Russian roots end up being the life of the party in Spain? And why do people argue about whether it needs tuna or hard-boiled eggs? (Spoiler: It doesn’t, but that’s half the fun!) Ensalada rusa is like that friend who shows up to every gathering with a killer playlist—reliable, adaptable, and impossible to resist.
At its core, it’s a humble mix of boiled potatoes, carrots, and peas, dressed in mayo and brightened with pickles or olives. But here’s the kicker: The name stuck even as the recipe hopped borders. Some say it’s called “Russian” because it’s as hearty as a Siberian winter. Others claim it’s because the original version included expensive ingredients like lobster (fancy, right?).
Whatever the story, one thing’s clear: This dish is a masterclass in comfort. As my abuela would say, “El amor entra por la cocina”—love enters through the kitchen. So why not spread a little love with a bowl of this stuff? Grab your veggies—let’s get cooking!
Why You’ll Love This Ensalada Rusa
- Creamy, Dreamy Goodness: The mayo dressing is rich but balanced, with a squeeze of lemon to keep it from feeling heavy. Every bite is like a cozy blanket for your taste buds.
- Cheap Cheer: For under 10,you’llfeed6people.Comparethattothe10,you’llfeed6people.Comparethattothe15 deli tub that tastes like regret.
- Customizable AF: Add tuna for protein, roasted red peppers for sweetness, or apples for crunch. It’s your salad, your rules.
If you’re obsessed with our Spanish tortilla, you’ll love this recipe. Both dishes prove that pantry staples can be extraordinary. Ready to make magic? Let’s go!
How to Make Ensalada Rusa
Quick Overview: This no-fuss recipe takes 30 minutes, uses 7 ingredients, and tastes like you spent all day in the kitchen.
Key Ingredients (Serves 6):
- 4 medium potatoes, peeled & diced
- 2 large carrots, peeled & cubed
- 1 cup frozen peas (no thawing needed!)
- ½ cup mayo (homemade or Hellmann’s—no judgment)
- ¼ cup diced pickles (go for the garlicky ones)
- 1 tbsp lemon juice (fresh, please!)
- Salt & pepper to taste
Step-by-Step Instructions:
- Boil Like a Boss: Cook potatoes and carrots in salted boiling water for 10–12 minutes. Toss in the peas during the last 2 minutes. Drain and let cool. (Pro tip: Rinse under cold water to stop the cooking—nobody wants mush!)
- Mix It Up: In a big bowl, gently fold the veggies with mayo, pickles, lemon juice, salt, and pepper. Taste and adjust—maybe more lemon? A pinch of smoked paprika? You do you.
- Chill Out: Cover and refrigerate for at least 1 hour. This lets the flavors mingle like guests at a great party.
- Serve with Swagger: Garnish with olives, hard-boiled eggs, or fresh parsley. Or eat it straight from the bowl—we won’t tell.
What to Serve with Ensalada Rusa
- Grilled Everything: Pair with smoky ribs, garlic shrimp, or herb-marinated chicken.
- Tapas Night: Serve alongside croquetas de jamón and a crisp green salad.
- Picnic Perfection: Pack it with crusty bread, cured meats, and a thermos of sangria.
- Brunch Twist: Top avocado toast with a scoop of ensalada rusa and a fried egg. Trust me.
Top Tips for Perfecting Ensalada Rusa
- Veggies Are VIPs: Don’t overcook them! They should be tender but still hold their shape.
- Mayo Matters: If using store-bought, jazz it up with a spoonful of Dijon mustard or minced garlic.
- Prep Ahead: Make it the night before—it tastes even better the next day.
- Go Wild: Stir in diced apples, canned tuna, or roasted beets for a twist.
- Vegan Hack: Swap mayo for mashed avocado or vegan mayo.
Storing and Reheating Tips
- Fridge: Store in an airtight container for up to 3 days. The flavors actually improve!
- Freezing: Skip it—mayo doesn’t freeze well. (But let’s be real: Leftovers won’t last anyway.)
- Serve It Cold: This salad thrives straight from the fridge. No reheating needed!
Final Thoughts
Look, I’ll level with you: Ensalada rusa isn’t just a salad. It’s a vibe. It’s the dish you bring to potlucks when you want to seem fancy without trying. It’s the answer to “What’s for dinner?” when you’re too tired to cook. And with these 5 secrets—like nailing the veggie texture and balancing the tangy dressing—you’ll make a version that’ll have friends begging for the recipe.
So go on, channel your inner Spanish abuela (or that one aunt who always brings the best sides), and whip up a batch. Your taste buds—and your next BBQ—will thank you.
Have You Tried Our Recipe Yet!
There are no reviews yet. Be the first one to write one.